

Kitchen Care Guide
How to Clean Kitchen Tiles (Porcelain, Ceramic, Stone & Textured Finishes)
Kitchen tiles are built to handle heat, moisture and mess — but grease, cooking residue and everyday splashes can still dull the finish and stain grout over time. The good news: most kitchen tile cleaning problems come down to using the wrong products (too harsh, too acidic, too oily) or skipping a simple routine.
Below is a practical, tile-safe cleaning system for common kitchen tile types — ceramic, porcelain, natural stone and textured finishes — plus the best ways to keep grout looking fresh.
Quick routine (save this)
Simple schedule to prevent haze, grease film and grout staining
| Frequency | What to do |
|---|---|
| Daily (2 mins) |
|
| Weekly (10–15 mins) |
|
| Monthly (30–45 mins) |
|
Golden rule:
Wipe → Rinse → Dry. Most streaks, haze and “cloudy tiles” come from cleaner residue and not drying after cleaning.
1) Identify your tile type before you start
Cleaning should match the surface. What works for porcelain can damage natural stone — and textured tiles simply need a different technique.
Porcelain & ceramic tiles
Usually the easiest to maintain and can tolerate most mild cleaners.
- Avoid waxy “shine” products (they attract dirt)
- Stick to pH-neutral for routine cleaning
Natural stone (marble, limestone, travertine)
More porous and sensitive — the wrong cleaner can etch the surface or weaken sealers.
- Avoid acidic cleaners (vinegar, lemon, many descalers)
- Use stone-safe, pH-neutral products only
Textured / anti-slip tiles (R10/R11)
Dirt can cling to the texture, so you’ll need a soft brush and more agitation.
- Use a soft brush to lift grime
- Rinse well to avoid residue build-up
If you’re unsure what you have, check your product page/spec (porcelain vs ceramic vs stone) or ask your installer.
2) The safest “all-round” cleaner for kitchen tiles
For routine cleaning, keep it simple. A pH-neutral cleaner removes everyday grime without etching surfaces or weakening grout and sealers over time.
Your basic kit
- Warm water
- pH-neutral tile cleaner
- Microfibre cloth (walls/splashbacks)
- Microfibre mop (floors)
Why pH-neutral matters: it cleans effectively without the long-term damage caused by acidic or harsh alkaline products.
3) How to clean kitchen wall tiles (splashback) without streaks
-
1) Dry dust first
Grease + dust = grime paste. A quick dry microfibre wipe makes wet cleaning easier.
-
2) Spray pH-neutral cleaner (or warm soapy water)
Don’t soak the wall — a light mist is enough.
-
3) Wipe top to bottom with microfibre
This avoids drip marks on already-clean areas.
-
4) Rinse (important)
Wipe again with a clean damp cloth to remove cleaner residue.
-
5) Dry
Buff with a dry microfibre cloth for a streak-free finish.
Pro tip for glossy tiles:
The rinse + dry step prevents haze and streaks.
4) How to clean kitchen floor tiles (no sticky residue)
-
1) Vacuum/sweep thoroughly
Grit can scratch, especially on polished surfaces.
-
2) Mop with warm water + pH-neutral tile cleaner
Use the recommended dilution — more product is not better.
-
3) Rinse the mop head frequently
A dirty mop just redistributes grease.
-
4) Optional: final rinse pass with clean water
If floors feel sticky after drying, residue is the cause.
Avoid:
“All-purpose floor shine” products unless they’re specifically designed for porcelain/ceramic tiles and don’t leave a film.
5) Removing grease from kitchen tiles (the real kitchen problem)
Cooking grease is the #1 reason kitchen tiles look dull. It forms a thin film that traps dust and turns into a sticky haze.
Grease removal method (safe)
- Use a degreasing tile-safe cleaner (pH-neutral or manufacturer-approved)
- Let it sit for 2–3 minutes (don’t let it dry)
- Agitate with a soft nylon brush or non-scratch pad
- Rinse thoroughly and dry
What not to do
- Don’t use abrasive pads on glossy tiles (micro-scratches dull the shine)
- Don’t rely on strong solvents without checking suitability (can damage sealers and some finishes)
6) How to clean grout on kitchen tiles (without wrecking it)
Grout is porous, so it stains faster than tile. A gentle weekly routine plus a monthly deeper clean makes the biggest difference.
Light grout cleaning (weekly)
- pH-neutral cleaner + soft grout brush
- Rinse and dry
Deeper grout cleaning (monthly)
- Use a grout cleaner designed for tile installations
- Work in small sections
- Rinse thoroughly
When grout keeps staining
If the grout darkens again quickly, you likely need:
- Grout sealing (for cement-based grout)
- Better degreasing around cooking zones
- Improved ventilation (less airborne grease)
Important: If you have epoxy grout, cleaning is different (less porous, but can still film). Use epoxy-safe products.
7) Limescale & water marks (around sinks)
Porcelain/ceramic tiles
- Use a gentle limescale remover approved for ceramic/porcelain (test first)
- Rinse well
Natural stone tiles
- Do not use acidic limescale removers
- Use a stone-safe product only
8) Mould in silicone joints or corners
- Use a mould remover suitable for bathrooms/kitchens
- Ventilate well
- Rinse and dry
If mould returns quickly, it’s often airflow:
- Run extractor fans longer
- Reduce standing water on ledges
- Re-seal silicone if it’s degraded
9) The 5 biggest mistakes that make tiles look worse
- Using too much detergent (leaves haze)
- Cleaning without rinsing (film builds up)
- Using abrasive pads on glossy finishes
- Using acidic cleaners on stone
- Oiling products or waxes on porcelain (attract dirt)
Helpful picks (internal)
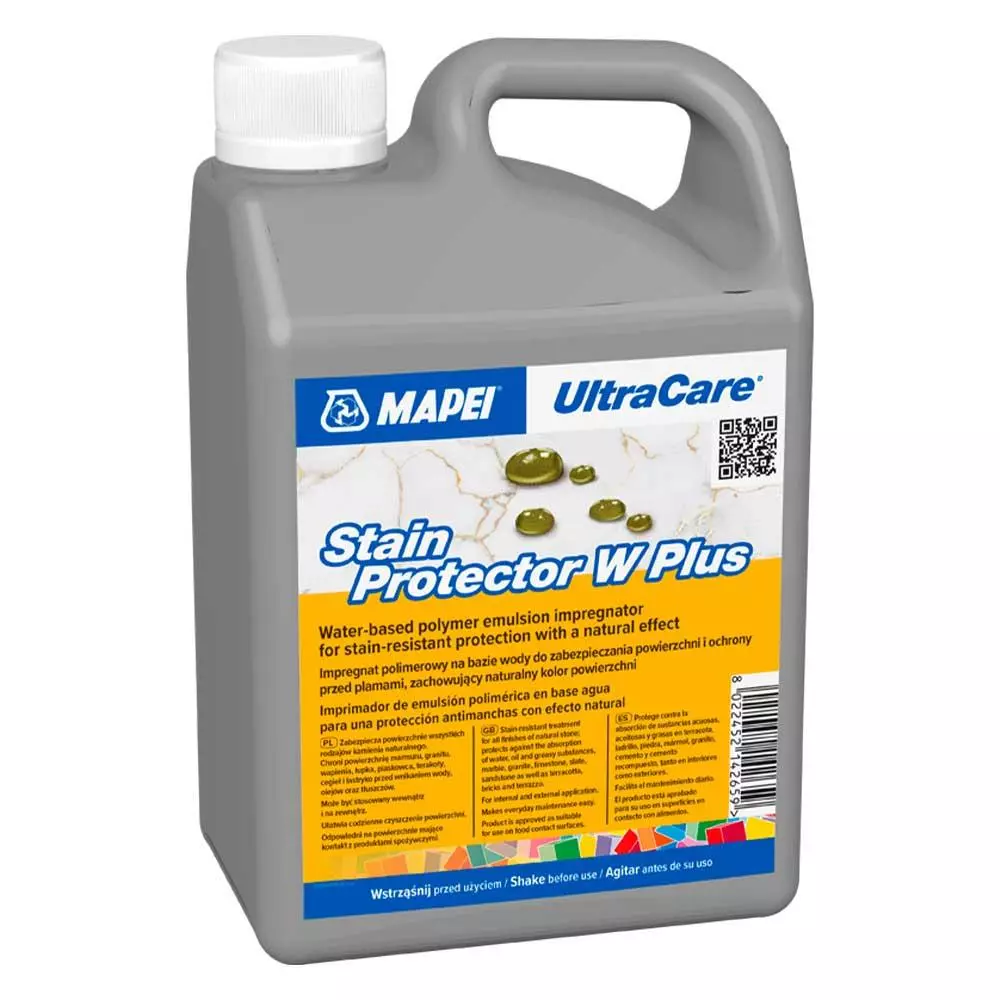
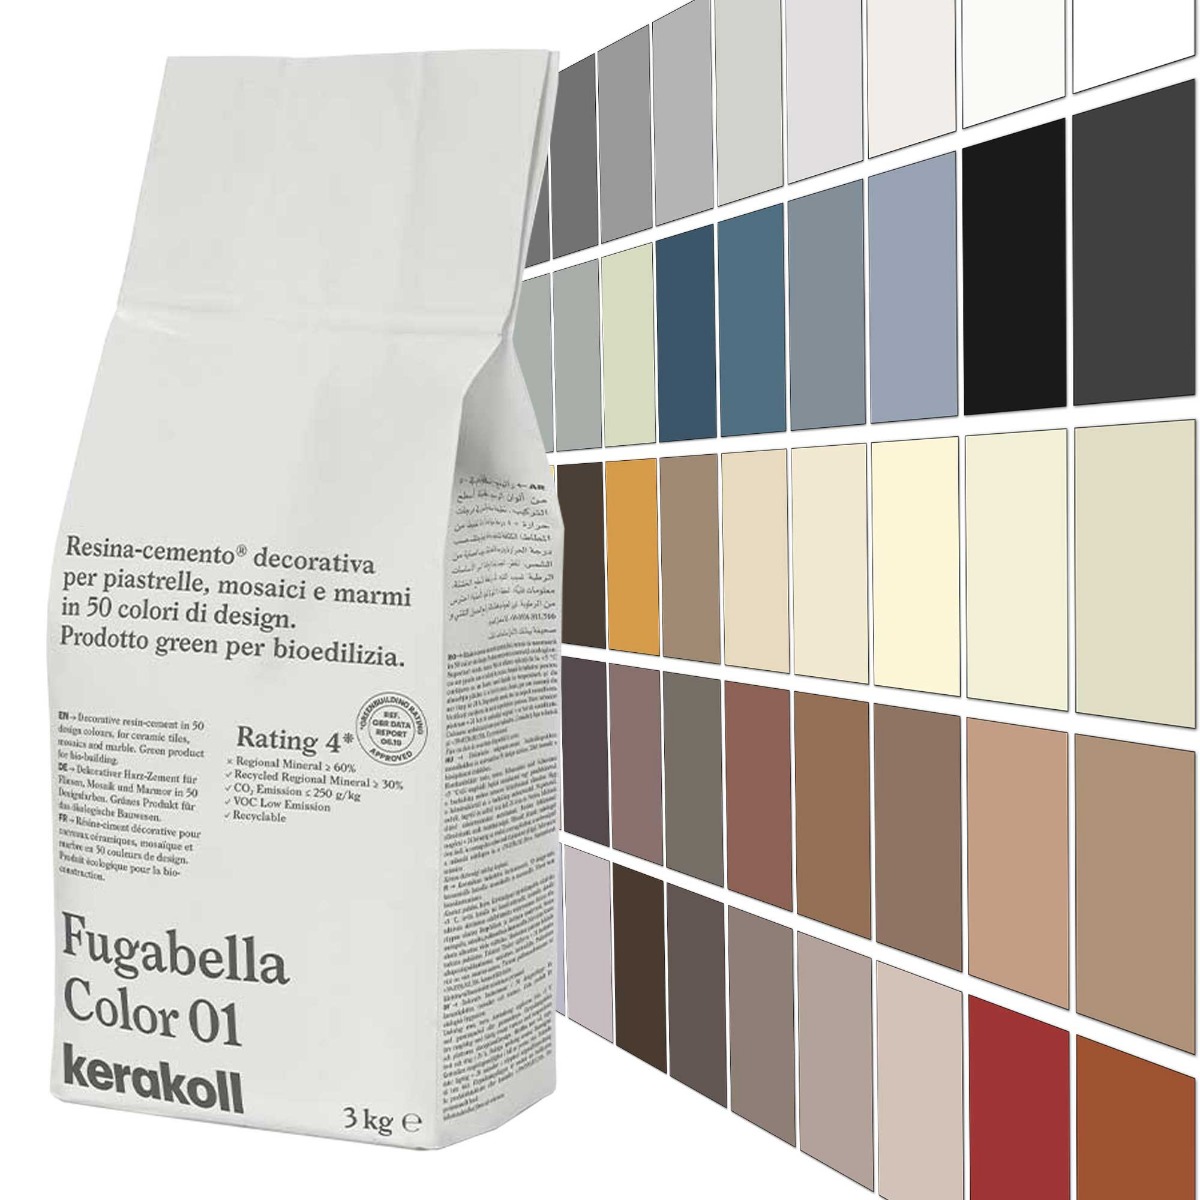
Use these as internal blocks on your site (swap URLs to match your categories/products).

10) FAQs
What’s the best thing to clean kitchen tiles with?
A pH-neutral tile cleaner and microfibre cloth/mop is the safest and most effective routine option. Rinse once and dry to prevent haze.
Can I use vinegar to clean kitchen tiles?
On porcelain/ceramic, diluted vinegar is sometimes used, but it’s not ideal long-term and can damage grout/sealers. On natural stone: no — avoid acids entirely.
How do I make grout white again?
Use a grout cleaner plus a soft brush, rinse thoroughly, then seal cement-based grout to help prevent re-staining — especially around cooking zones.
Why do my tiles look cloudy after mopping?
Cleaner residue. Use less product, rinse once with clean water, and dry/buff the surface — especially on glossy tiles.


