Top Tiling Mistakes & How To Avoid Them
top tiling mistakes &
how to avoid them
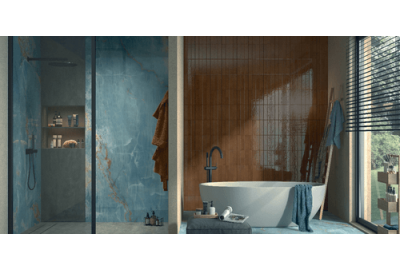
Tiling is an essential part of any home décor, especially when you're remodelling your kitchen or bathroom. Tiles can be a considerable investment, both in terms of time and money, so it's important to make sure you avoid making mistakes while they're being installed. As a hard wearing and long lasting finish, it’s likely you’ll be living with your tiles for many years so it’s worth the effort to make sure they look great.
Knowing what the top tiling mistakes that people make are, as well as how you can avoid them, is key to ensuring your project goes smoothly and that your tiles look fantastic.
1. Not Ordering Samples First
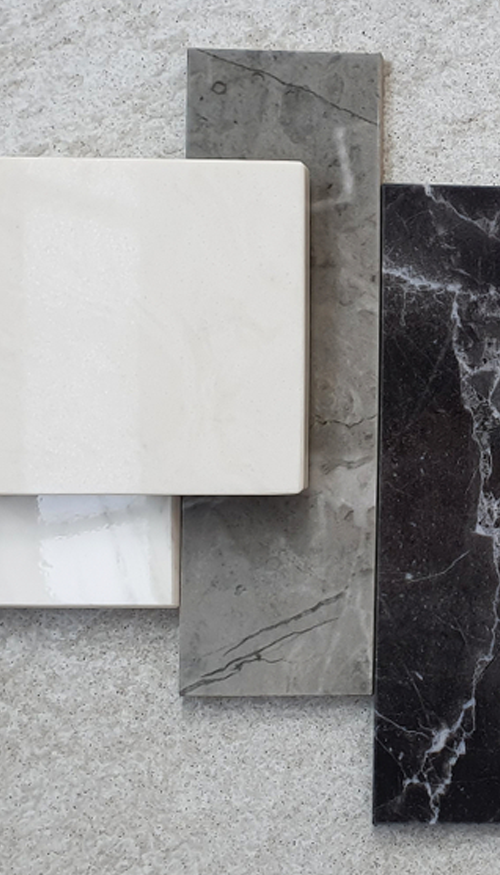
Without feeling the tile in your hand and seeing it in person, how can you be sure you’re making the right choice? Choosing tiles is a big decision, as different tiles can make a significant impact on how a room looks and feels.
It’s always worth seeing how tiles you like really look in the space you’ll be installing them before committing to a full order. This lets you check exactly how they will appear under the real lighting conditions of the room at all times of day, as the way light interacts with tiles can sometimes make colours and textures appear different to images you will find online. The type of lighting you have can make kitchen tiles, for example, look different during the evening under spotlights than they look when natural light is coming through the window during the morning, and it’s worth checking that you’re happy with the appearance in a range of conditions.
When thinking about the colour and texture of tiling you want, it’s a good idea to narrow down your selection to a shortlist and then requesting free tile samples so that you’re able to compare and decide on which you like the best. Ordering sample tiles does an extra step to the project, however it’s well worth it to ensure you get a finish that looks as good as you want it to.
2. Ordering Too Few Tiles
Another common mistake is to simply not order enough tiles. Getting towards the end of the tiling project and realising you don’t have enough tiles to complete the job can cause unwanted delays. It also means that when ordering more tiles you’ll need to check that you can get tiles from the same batch, as there can sometimes be slight variations in colour between different batches, even of the same model.
To calculate how many you'll need you should multiply the area's length by width, and use your chosen tile's dimensions to work out how many you'll need per metre. It’s also recommended to include an additional 10% to the amount of tiles you buy. This is to account for any breakages that might happen, errors when cutting, and wastage from cutting tiles to fit awkward areas.
To help ensure you order enough tiles for your project, we have an Advanced Tile Calculator 

3. Not Planning Your Layout
Mistake 3 and we're still in the planning stage - that tells you how important it is. Thorough preparation will save you so many potential mistakes later on. In this case, some extra time spent accurately plotting out the layout of the area you're going to tile, and how the tiles are going to fit in it, will pay dividends. It'll help you to isolate any potential issues before they arise, which means when you get started you'll be able to power along quickly.
The first thing to do is to decide on the tiling pattern that you want to use. There are a wide range of options, covering everything from liner tiles and brick pattern to herringbone, stepladder (a vertical brick layout), diamond pattern, basket weave and many more. Once you know your pattern, the next step is to locate the starting point for the tiling. This will typically be the centre of the wall of floor that you want to tile.
An important part of planning your layout is to ensure that you place tiles to look their best. Think about achieving symmetry, for example behind features such as taps, and consider where your cuts will be. It doesn’t look good to have too many cut tiles in full view, and these are best placed in corners or at the top or bottom of a surface.
4. Not Using The Right Equipment For Cutting Tiles
Another common issue that comes up often is cracking tiles when trying to cut them. This can be a problem especially if you're tiling around unusually shaped areas. To combat this it’s worth investing in a good quality tile cutter and other tiling tools that are designed specifically for the job at hand. It will add some overall expense to your project, but if it minimises the time and frustration spent wasting tiles through poor cutting then it's an investment worth considering.
The right tools are also essential for completing the job to a high standard. If you are employing a contractor then they should of course have their own tiles. However, if you are attempting a DIY tiling project then it is sensible to make sure the job isn’t made more difficult than it needs to be because you’re not using the correct equipment, as you could end up with a sub-par finish that you might not be happy with.

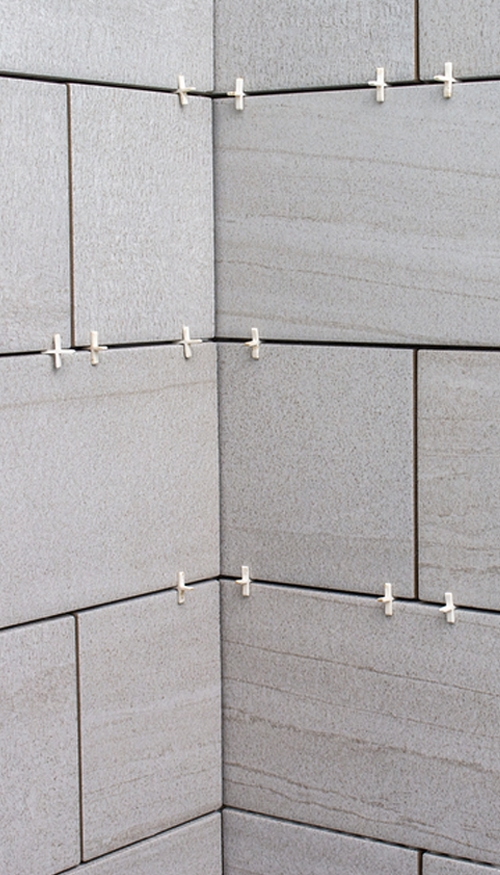
5. Thinking You Don't Need Tile Spacers
A simple but incredibly useful tool, tile spacers are a must have part of any tiling project you’re undertaking.
If you think you can evenly tile a whole area by eye, you're wrong. Even the most experienced professionals use tile spacers to ensure they get an even distance and separation between each tile.
Although small, tile spacers or wedges are an essential part of any tiling project and ensure that tiles are placed level, with uniform gaps for grouting throughout. Available in a variety of sizes, and for a comparatively minimal investment, you can ensure the finished product looks as good as possible, with consistent even gaps amongst all the tiles.
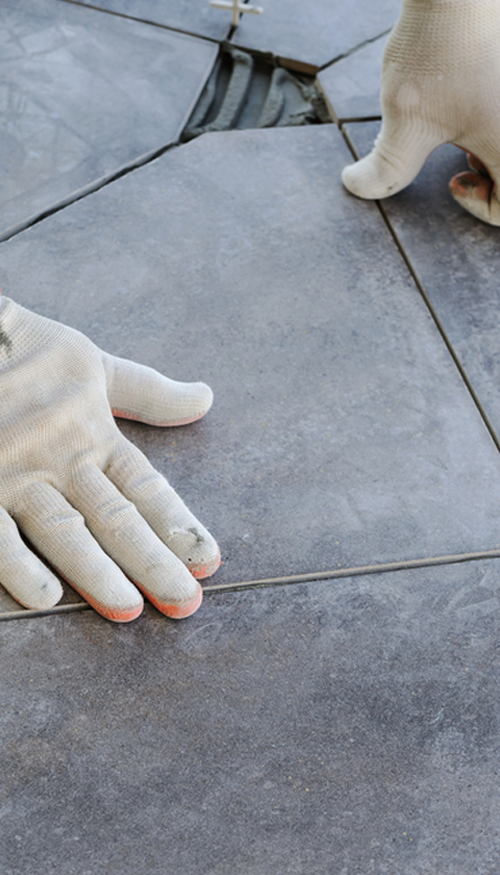
6. Not Properly Preparing Your Surfaces
This is a very common tiling mistake, and again it comes down to a lack of preparation. Remember that all surfaces will need to be as free from dirt and debris as possible, to ensure that your tiles and adhesive bind correctly.
When tiling a wall, ensure you've removed any protrusions from the surface such as nails and screws, before getting started. If there are any problems you can repair them using tile levelling kits, then sand away the excess before giving a final clean to remove grease, dust, and dirt.
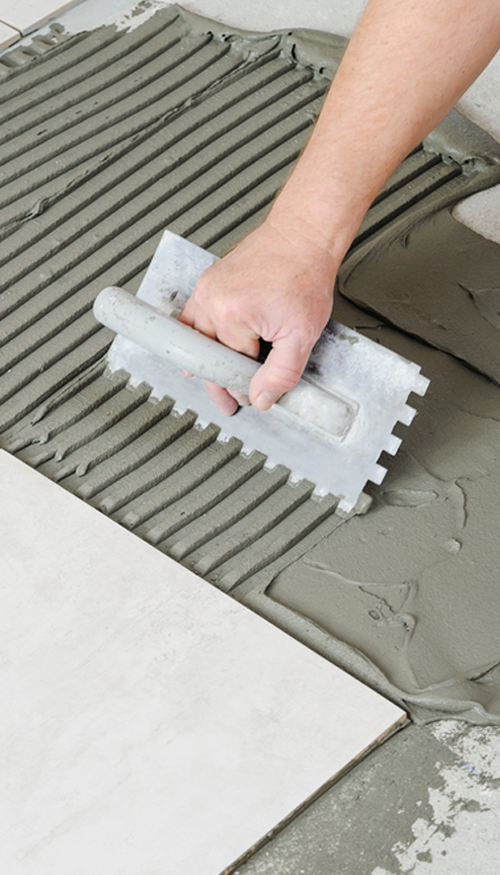
7. Using The Incorrect Tile Adhesive
All adhesive is not made equally, and it’s important to use good quality tile adhesive to attach your tiles reliably and securely to the surface that you’re tiling.
There’s a broad choice of adhesive available and it’s important to select the most suitable product for your requirements. Different tile adhesives are generally made for different purposes. For example, if you're installing tiles in a wet room it's essential you use a waterproof adhesive.
If you're in any doubt about the best type of tile adhesive for your needs, get in touch with our team who will be happy to help you.
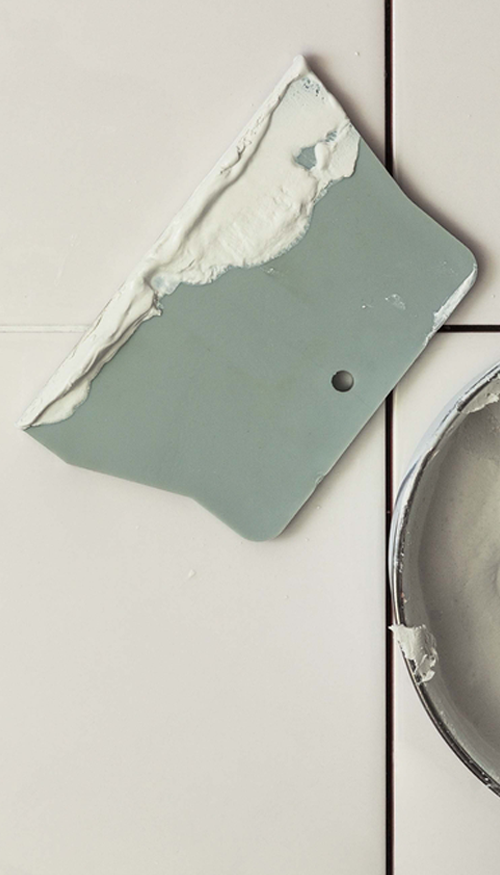
8. Using Wrongly Coloured Grout
Of course you want to make sure that the tiling grout colour itself will work with the style of the tiles you're choosing to install and help you to achieve the look you want. Your choice of colour when it comes to grouting can significantly impact the end result. Whether you opt for grouting in a complementary colour for a coordinated look, or opt for a contrasting grout for a bold style, it’s possible to achieve some fantastic finishes by considering the shade of grout you use.
When it comes to grouting there's something extra to consider than, and that's the fact that grouting colour can actually sometimes seep into tiles. For example with lighter natural stone tiles, dark grout can begin seeping into the pores of the tiles. That's why using a grouting colour chart can be invaluable for making the right choice.
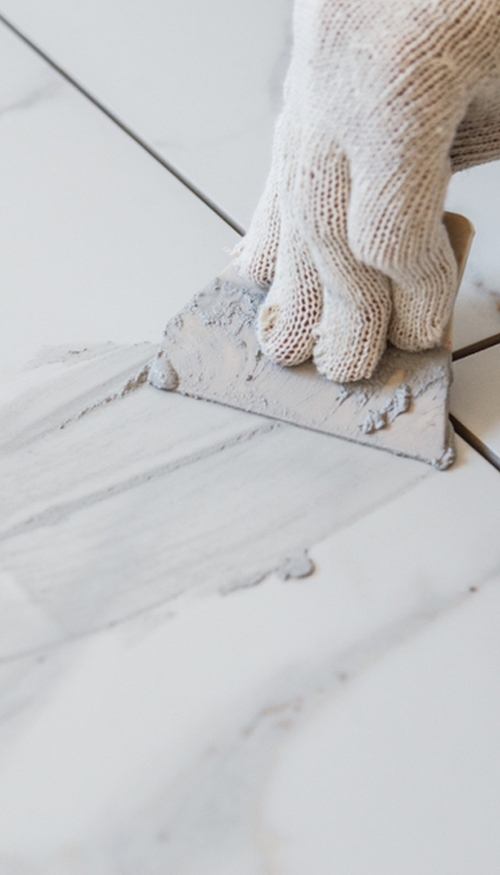
9. Rushing Your Grouting
Speaking of grouting, there's another common mistake to be made in this part of the process and that's rushing the process. If you’re unsure about grouting, it’s worth taking the time to understand how to grout before beginning the project.
Slowly apply your grout to the tiles after your adhesive has set and be positive all gaps are filled evenly. If you apply the grout too early you can trap moisture under the tile's surface.
Working slowly and methodically by gradually building up layers, letting the grout set, and then wiping away any excess will help ensure even and secure grout coverage. Once you’ve finished grouting and let it cure, it’s important to clean your tiles thoroughly to remove any haze that may dull the finish. You might need to clean the tiles a couple of times to make sure you’ve removed all of the excess grout, however this job is well worth the effort to ensure the beautiful colours and textures or your tiles can be seen as intended.
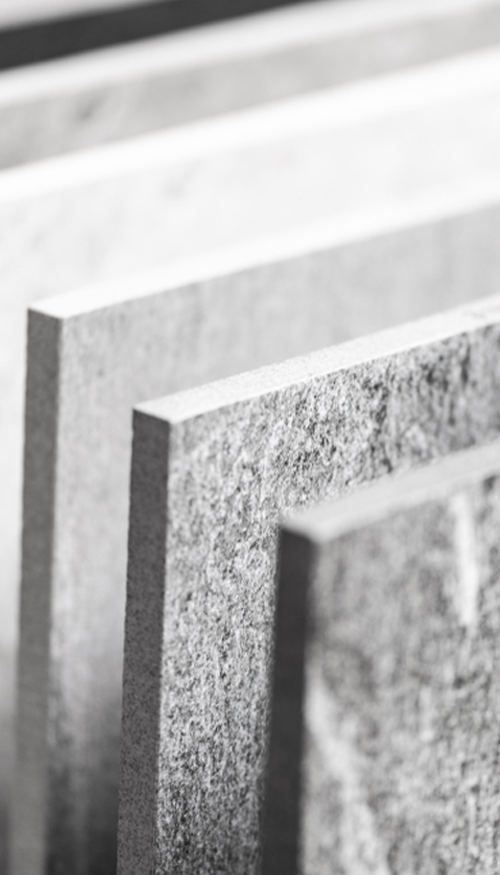
10. Not Sealing Correctly
After all that hard work is done you can still potentially ruin it all by not sealing it properly. Some types of materials such as terracotta, encaustic, crackle glaze, or natural stone tiles will all need a layer of protective sealant to guard against stains and fading. If you’re installing bathroom tiles, or tiles in areas like the kitchen where they may come into contact with water, then it’s usually a good idea to think about less absorbent materials such as porcelain or ceramic.
However, if your choice of tile requires sealing then it’s vital to ensure that the process is completed correctly. Apply your first coat before grouting, then the next after your excess grout has been cleaned off. This will help make sure your tiling is protected for as long as possible, and minimise the risk of environmental or atmospheric damage.
Always Ask For Help With Tiling If You Need It!
For competent DIYers, it’s possible to achieve stunning results in your tiling project with the right choice of tiles, the correct equipment and some careful planning. However if you’re unsure about how to tile, or would rather not make potentially costly mistakes, it’s always worth consulting a professional. A good tiling professional will be able to complete the job quickly, use the right tools for the job and have the experience needed for planning all those clever cuts for an exceptional finish.
The final thing to consider with any tiling project is that if you're not sure about something, it's always best to ask rather than guess. At the Tile Experience we have tiling experts on hand to answer your questions and provide practical advice with your budget and requirements always in mind. So whether it's for queries about buying your tiles, grout, and accessories, or for friendly helpful advice on how to get the best finish; contact the Tile Experience to discuss any aspect of your project.